
“cook more, spend less, feel better”
making food an art form
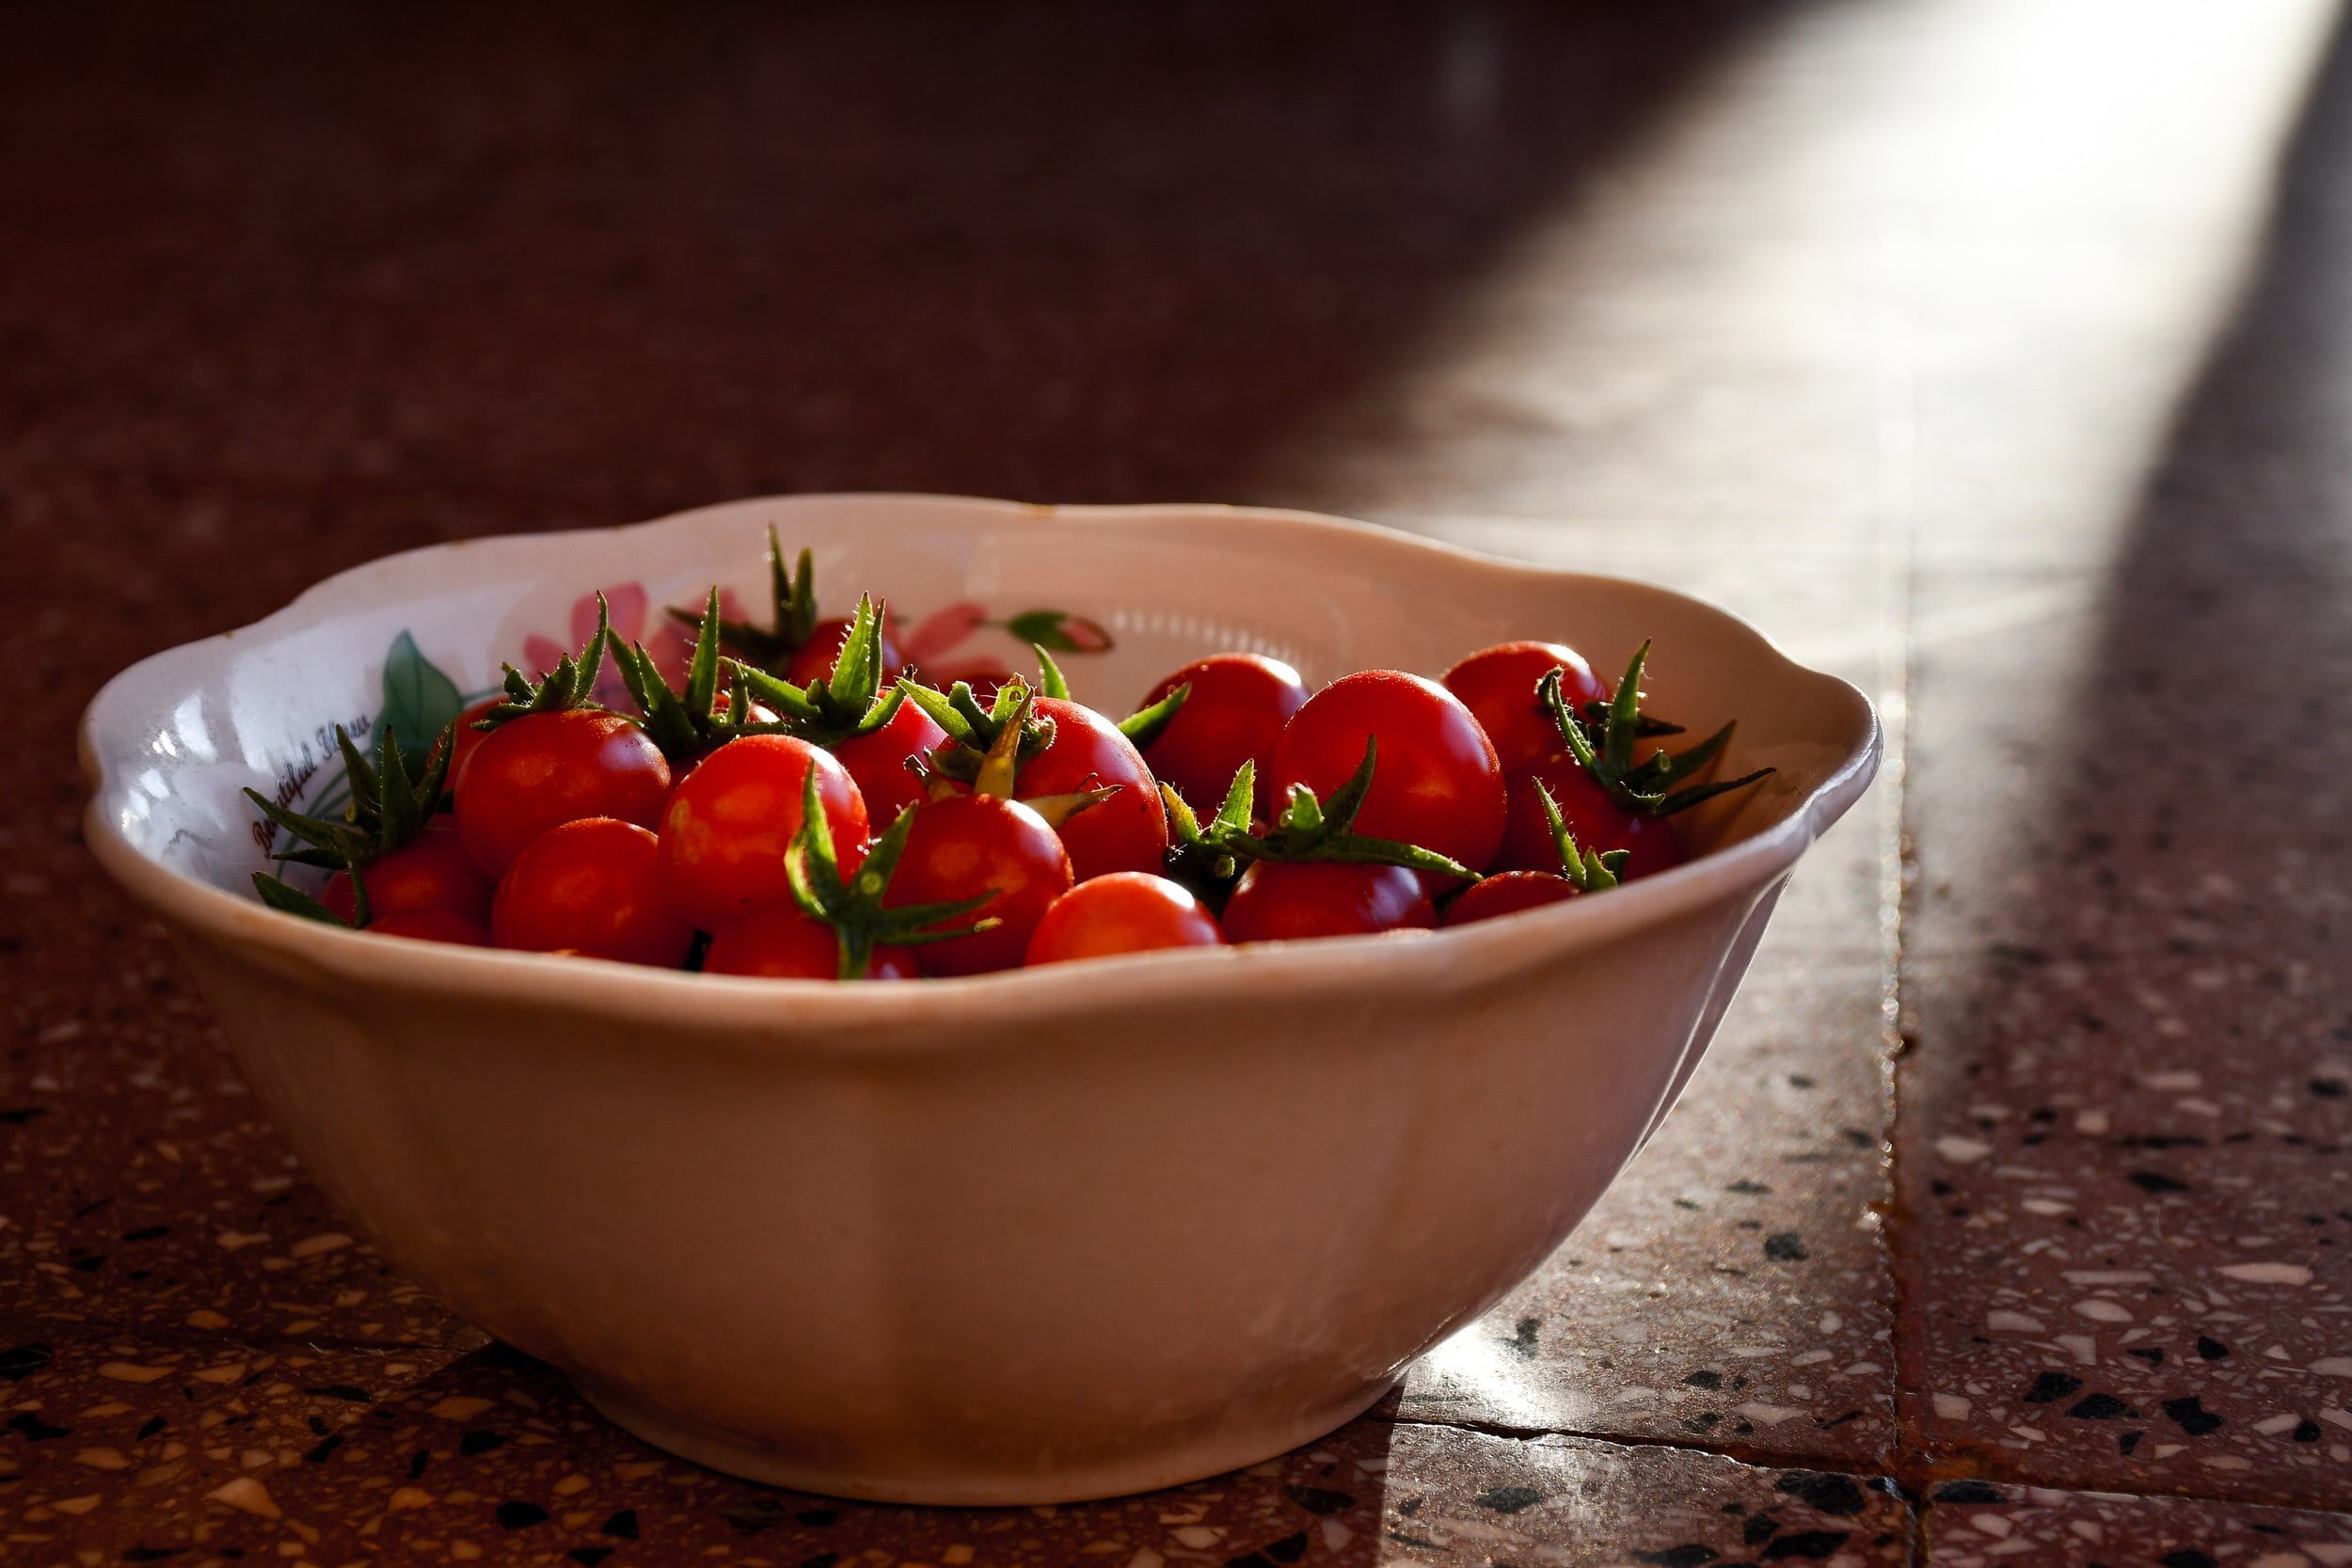
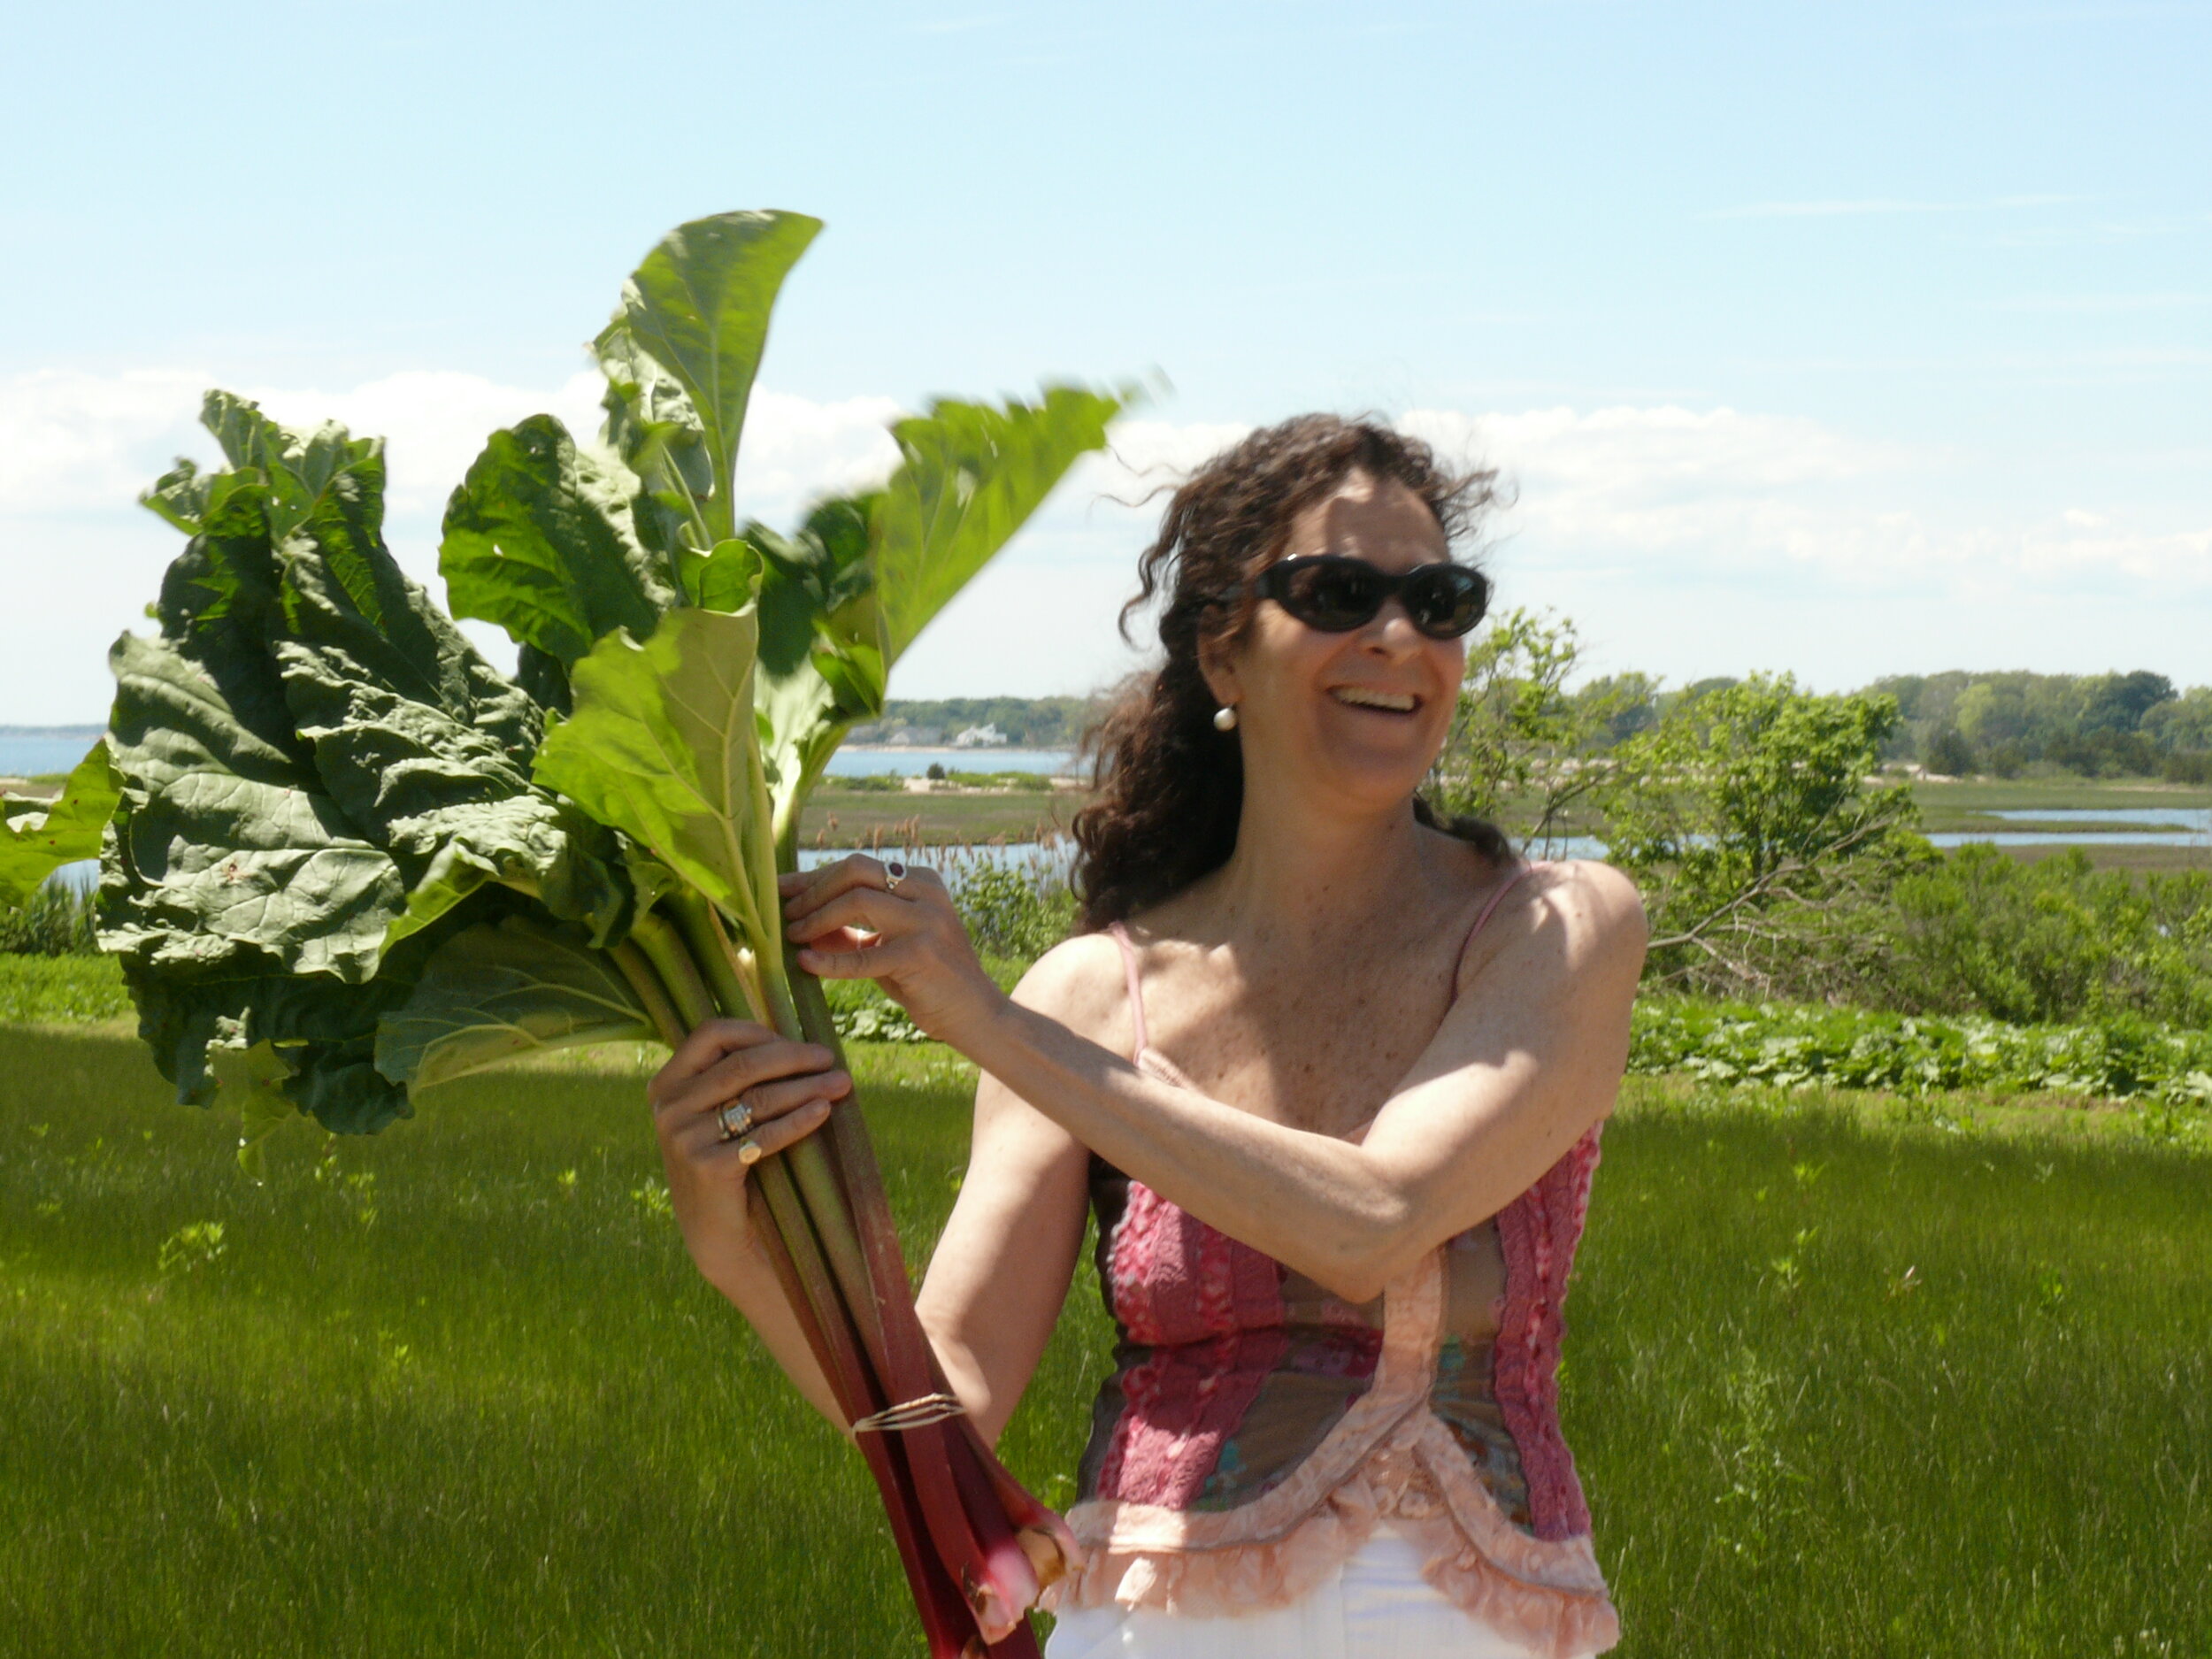
As a Health Supportive Private Chef with 15+ years’ experience, I love bringing great joy and stability to the families and individuals I cook for, whether we’re on land or offshore. I’m experienced and talented in preparing tasty, visually appealing meals adhering to any number of dietary constraints and wishes of my clients. On this website you’ll find recipes, stories and art to nourish your mind, body and soul.
audiobook
A modern-day take on a food memoir with picaresque-style meanderings. From D’s “Ah-ha moment” when the veteran international rock and roll touring industry production coordinator realizes that no matter how much she was catered to, she never felt satiated, launched her into forging a new path showing how beneficial honing ones resourceful and mindfulness aids in elevating our lifestyle.

gifts & lessons
This is where you’ll find the heart and soul of the offers D wishes to share with you. All with the intention to elevate your lifestyle, mindfulness, confidence & creativity.

the dvine line
D’s thoughtful menus, limited edition DVine charms and gift items are a perfect memento and reminder of that special time you took to create and share with your friends or yourself.


about donna goldman
Growing up in a diabetic home, I learned the importance of nutrition early in life. I started cooking for myself and neighbours since I was about nine.
Cooking has been an essential platform for my creativity ever since.
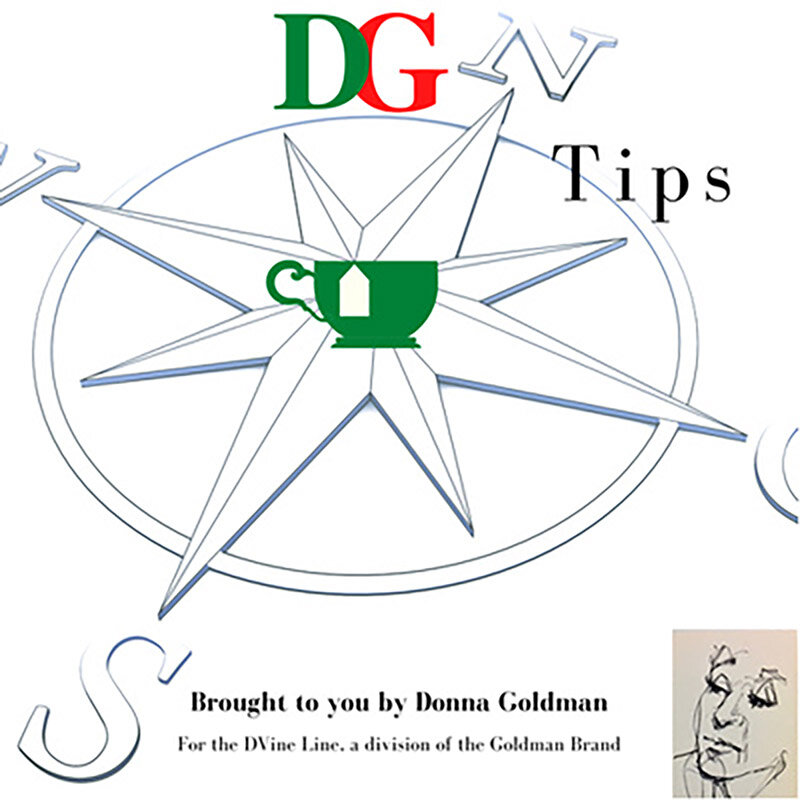
DGtips! podcast
Teatime conversations sparked by the theories and notion of the Collective Unconscious.
Conceptual artist, famed Host and Dveloper of the Recipes4Survival platform, Donna Goldman and her guests share their insights into the meditative benefits one Drives from the recognition of iconic symbols and the message(s) they relay via a psychic flash. Donna is taking to the airwaves like never before and in a way that only she can and has for years. Support this podcast here.

Recipes4Survival, The Cooking Podcast! Episodic cooking, Mindful Meals, & Sustainable Living Tips
The DVine Line Presents, the Recipes 4 Survival podcast. Conceptual Artist, Donna Goldman, elevates her beloved property, Recipes 4 Survival sharing Sustainable Living tips, esteemable rituals and making Mindful Meals through her adored way of storytelling and being in conversation with her guests. It is my hope to raise the awareness of our audience to become resourceful conscious citizen and that they are inspired to serve of their friends, family, community & the planet.
Lofty Yes, but I’m here to try and give it a go.
let me cook for you!
CHECK OUT THE LATEST FROM THE BLOG


Youtube lessons with D!

What People Are Saying
OMG Fern sent my mom and I a tin of your cookies...
WOW Mama...
So F*ing good.
You are the new Cookie Queen!
You are rocking this!
Love
— Vera B.
“I’m not sure what you did with that steak but that was the best steak salad I’ve ever had.”
— Mark T.
““Even when D steamed asparagus for us it was the most flavorful asparagus I’ve tasted.”